> For the complete documentation index, see [llms.txt](https://docs.swiftproxy.net/llms.txt). Markdown versions of documentation pages are available by appending `.md` to page URLs; this page is available as [Markdown](https://docs.swiftproxy.net/proxies/integration-and-usage/static-residential-proxies-integration/nestbrowser.md).
# Nestbrowser
## **Why choose Nestbrowser?**
Choosing NestBrowser as a browser solution has the following advantages:
**1. Privacy and security**
Provides advanced IP hiding function to effectively prevent network tracking and personal information leakage.\
Supports multiple proxy configuration methods and can easily integrate proxy tools such as SwiftProxy.
**2. Enterprise-level development support**
Adopts modular architecture design for easy expansion and maintenance.\
Supports multiple communication protocols to meet different development needs.
**3. Engineering advantages**
Follows modern front-end engineering specifications and has clear code organization.\
Provides a complete development tool chain suitable for building complex applications.
## **How to configure Nestbrowser with Swiftproxy Static Residential Proxy?**
### **Step 1: Get Proxy Information and Download**
1. Download Nestbrowser from the [official website](https://nestbrowser.com/).
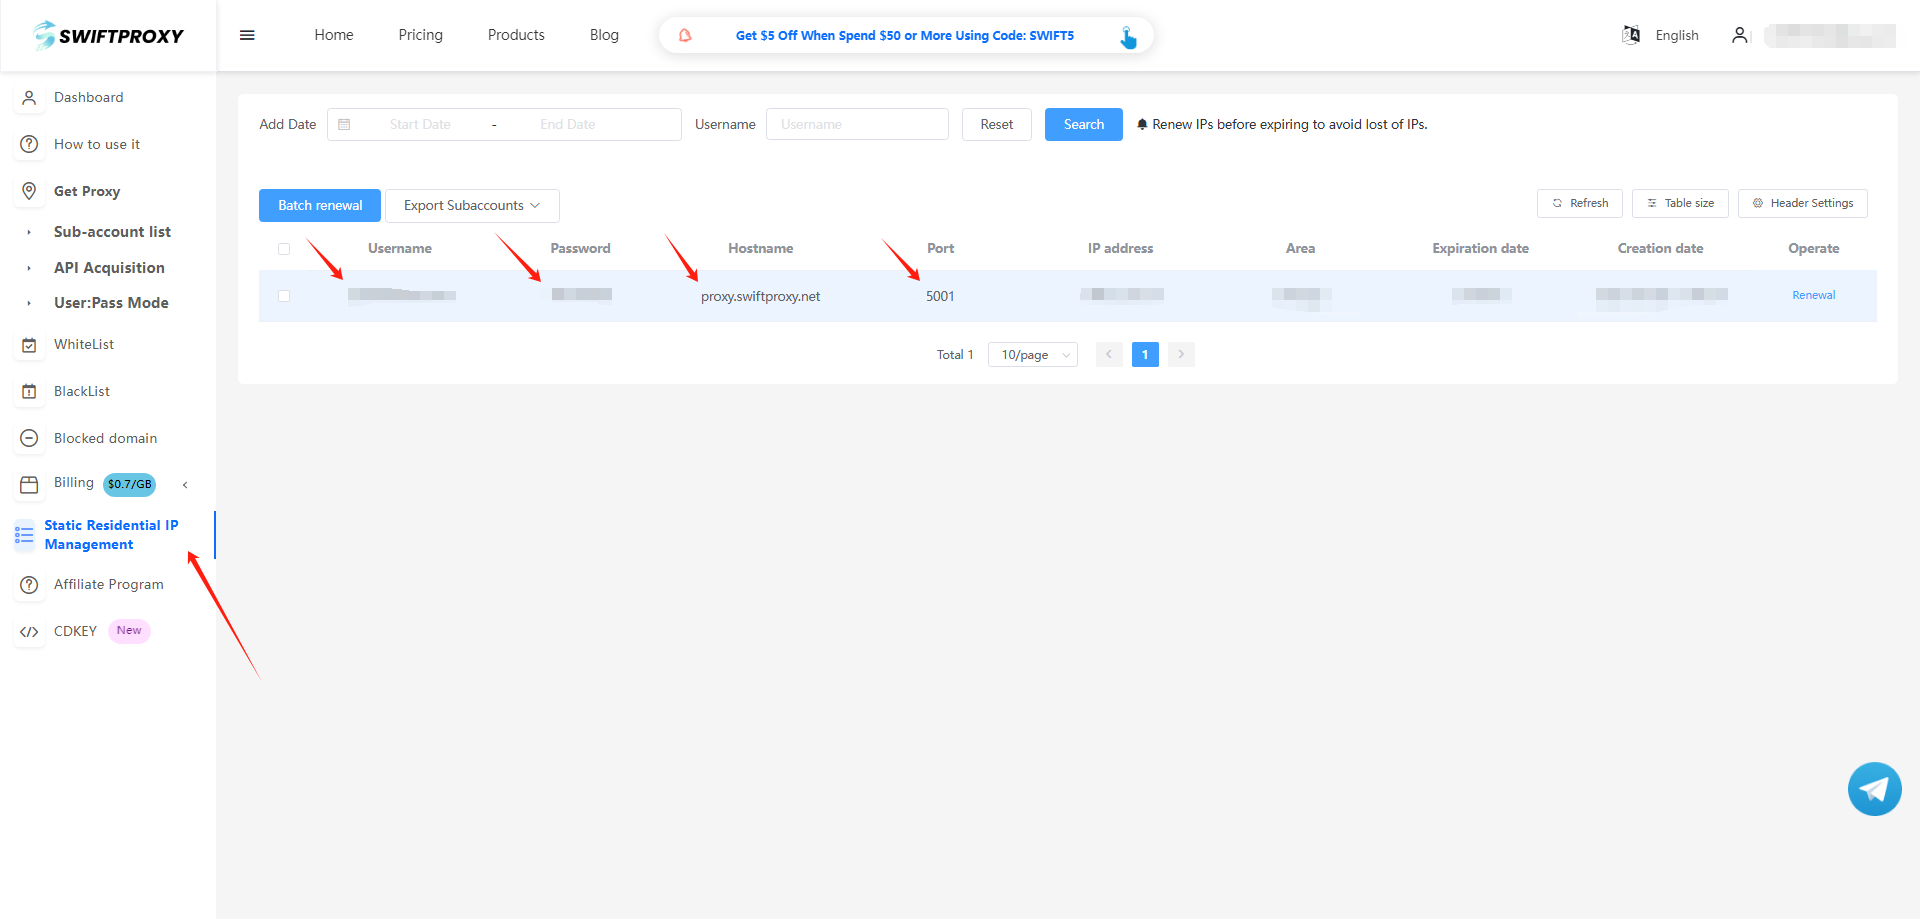
2. Visit the [Swiftproxy dashboard](https://www.swiftproxy.net/user/ucenter) and copy Username, Password, Hostname, and Port.
### **Step 2: Configure Swiftproxy in Nestbrowser**
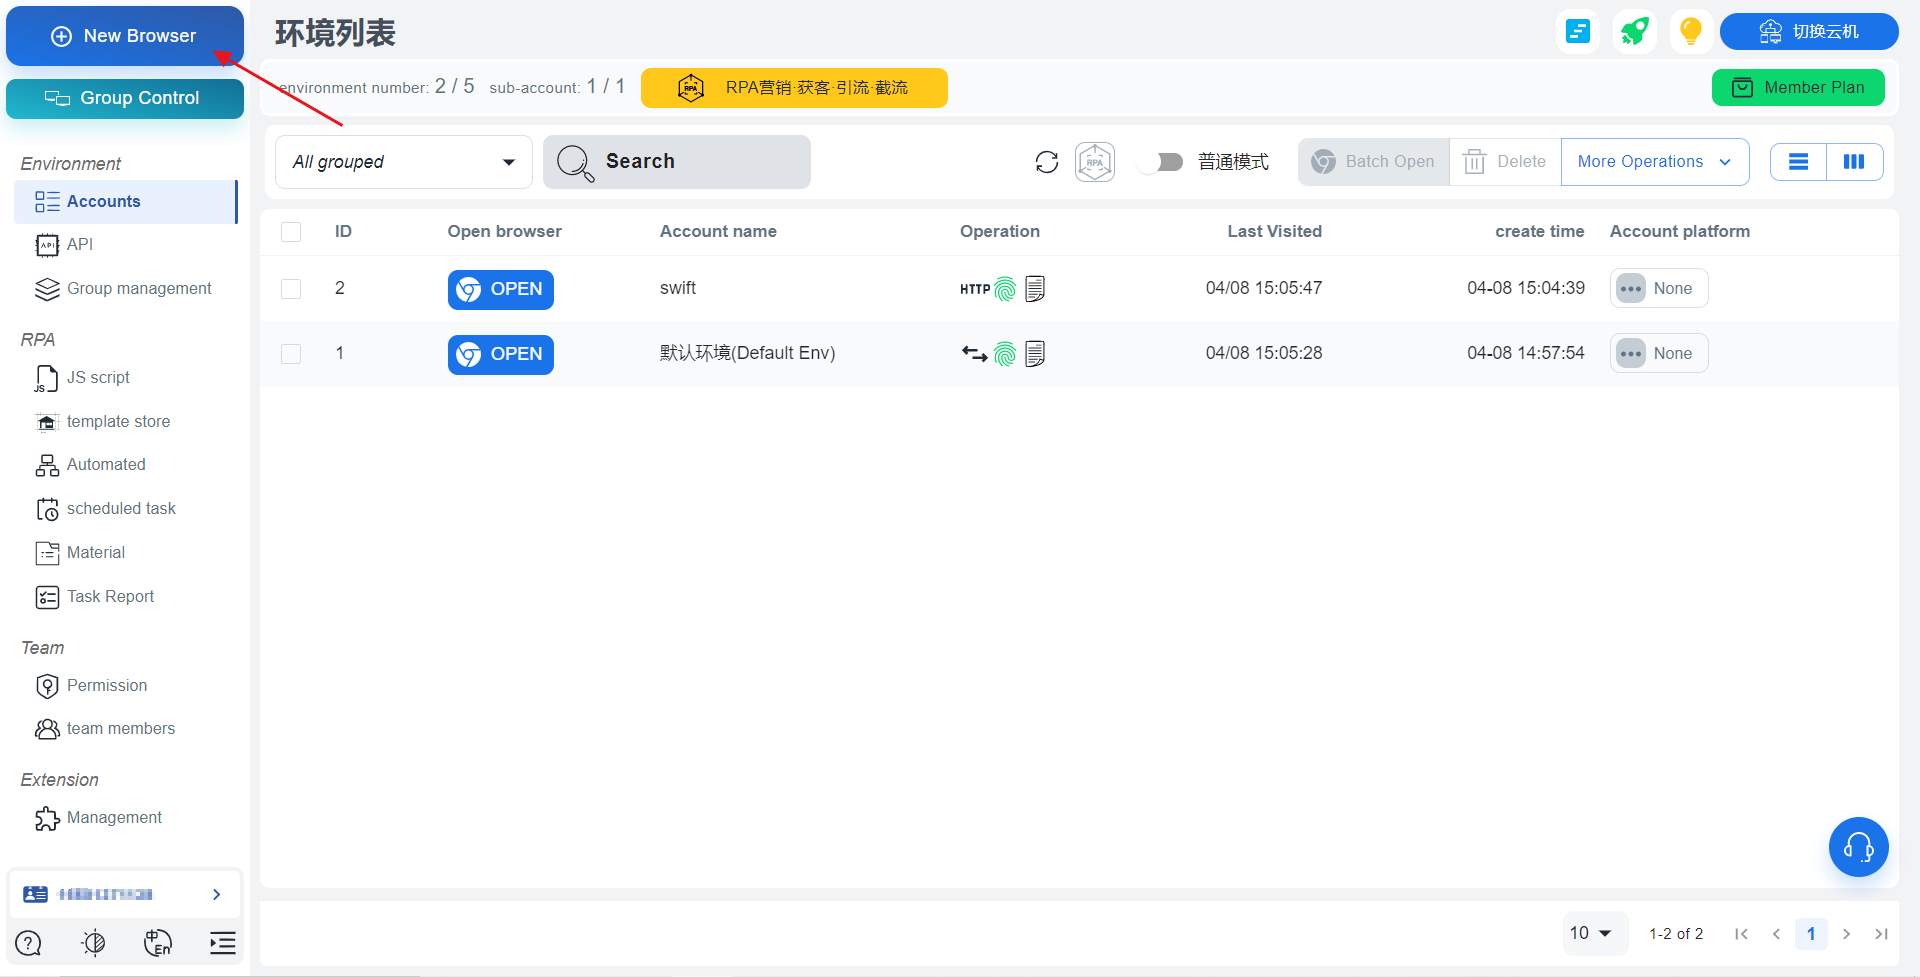
1. Register and log in. Click "New Profile" to create a new browser
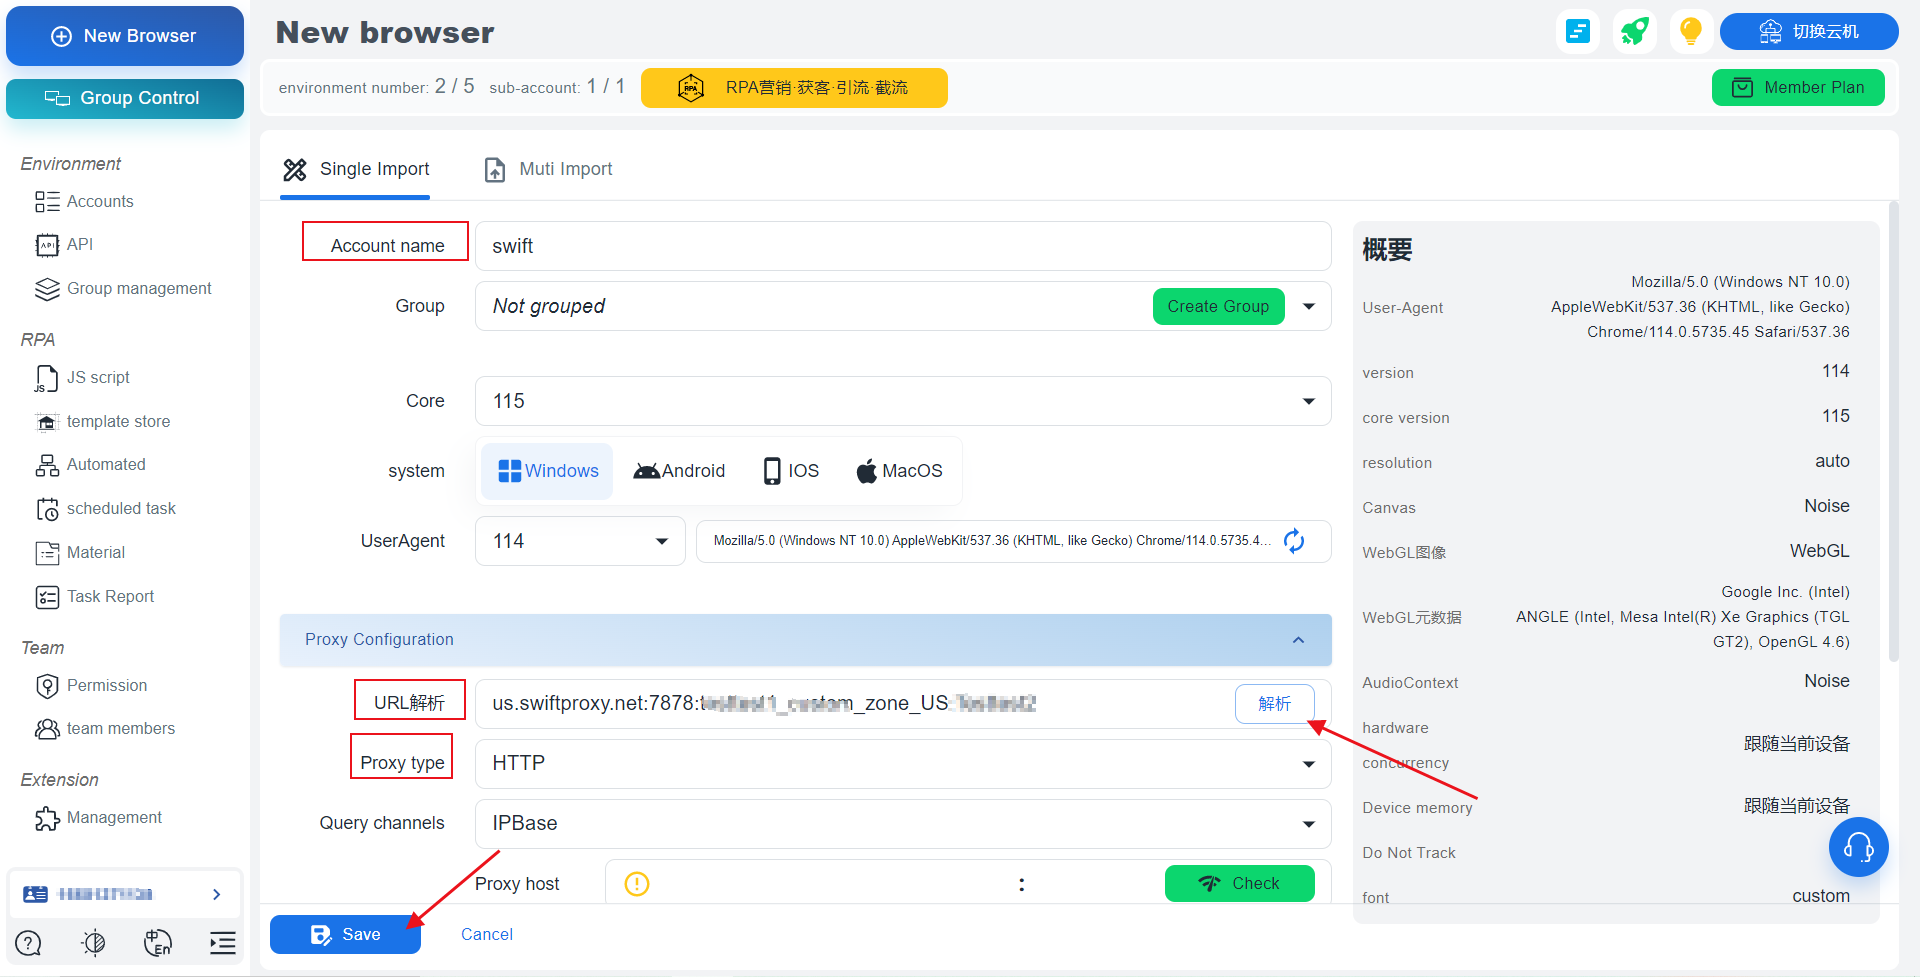
2. After entering the Account name, paste Username, Password, Hostname, and Port. After selecting the proxy protocol, parse the pasted proxy credentials. Finally, click "Save" to successfully configure our browser.
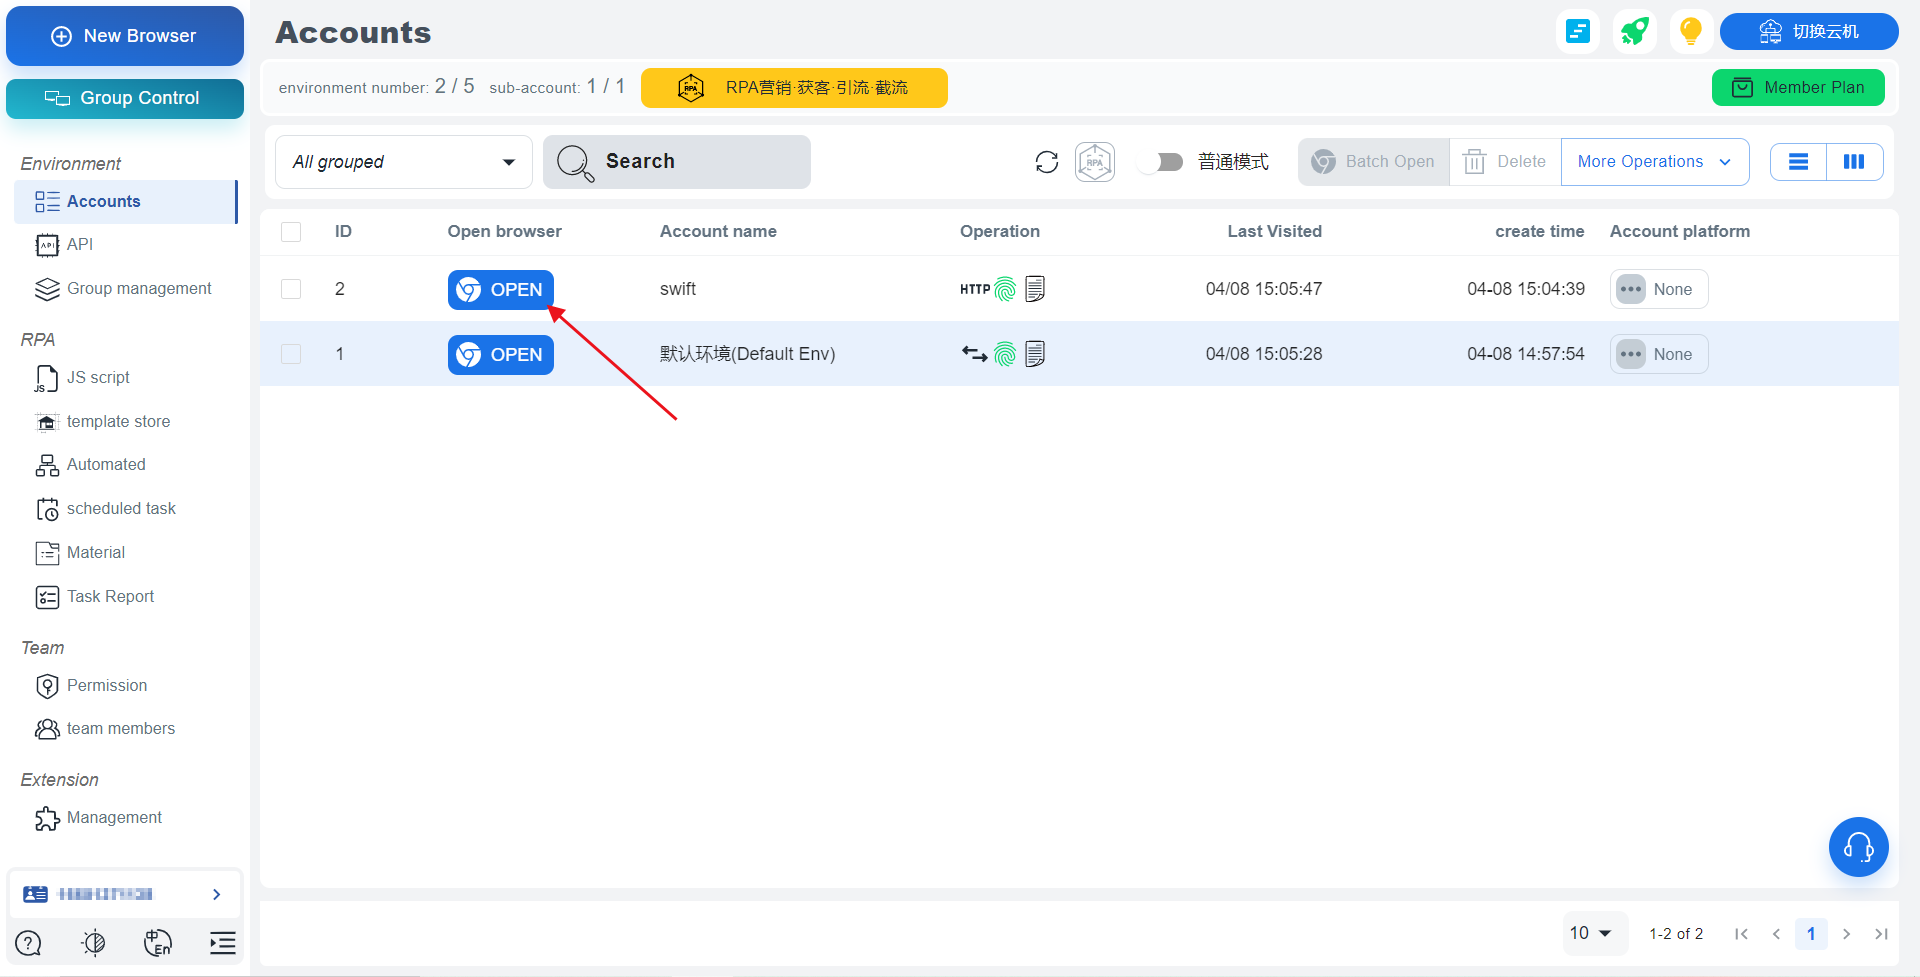
3. Tap "OPEN" to open the browser window.
---
# Agent Instructions
This documentation is published with GitBook. GitBook is the documentation platform designed so that both humans and AI agents can read, navigate, and reason over technical content effectively. Learn more at gitbook.com.
## Querying This Documentation
If you need additional information that is not directly available in this page, you can query the documentation dynamically by asking a question.
Perform an HTTP GET request on the current page URL with the `ask` query parameter:
```
GET https://docs.swiftproxy.net/proxies/integration-and-usage/static-residential-proxies-integration/nestbrowser.md?ask=
```
The question should be specific, self-contained, and written in natural language.
The response will contain a direct answer to the question and relevant excerpts and sources from the documentation.
Use this mechanism when the answer is not explicitly present in the current page, you need clarification or additional context, or you want to retrieve related documentation sections.
 2. After entering the Account name, paste Username, Password, Hostname, and Port. After selecting the proxy protocol, parse the pasted proxy credentials. Finally, click "Save" to successfully configure our browser.
 3. Tap "OPEN" to open the browser window.
 ---
# Agent Instructions
This documentation is published with GitBook. GitBook is the documentation platform designed so that both humans and AI agents can read, navigate, and reason over technical content effectively. Learn more at gitbook.com.
## Querying This Documentation
If you need additional information that is not directly available in this page, you can query the documentation dynamically by asking a question.
Perform an HTTP GET request on the current page URL with the `ask` query parameter:
```
GET https://docs.swiftproxy.net/proxies/integration-and-usage/static-residential-proxies-integration/nestbrowser.md?ask=
---
# Agent Instructions
This documentation is published with GitBook. GitBook is the documentation platform designed so that both humans and AI agents can read, navigate, and reason over technical content effectively. Learn more at gitbook.com.
## Querying This Documentation
If you need additional information that is not directly available in this page, you can query the documentation dynamically by asking a question.
Perform an HTTP GET request on the current page URL with the `ask` query parameter:
```
GET https://docs.swiftproxy.net/proxies/integration-and-usage/static-residential-proxies-integration/nestbrowser.md?ask=