> For the complete documentation index, see [llms.txt](https://docs.swiftproxy.net/llms.txt). Markdown versions of documentation pages are available by appending `.md` to page URLs; this page is available as [Markdown](https://docs.swiftproxy.net/proxies/integration-and-usage/residential-proxies-integration/xlogin.md).
# XLogin
## **What is XLogin?**
XLogin Anti-detect Browser offers users a unique and unlimited browser fingerprint environment. Each browser environment appears as a natural and native local setting, significantly reducing the risk of account blocks. This tool is suitable for a wide range of browser-based activities, including managing accounts on platforms like Google, Facebook, Twitter, Amazon, eBay, Etsy, TikTok, Tinder, PayPal, Stripe, Outlook, Gmail, and other online services. It supports various applications such as account registration, advertising verification, store management, affiliate marketing, automated tasks, and more.
## **How to configure XLogin with Swiftproxy Residential Proxy?**
### ▶️ **Video Tutorial**
{% embed url="" %}
### **Step 1: Get Proxy Information and Download**
1. Download XLogin from the [official website](https://xlogin.us/?sub=swiftproxy).
2. Visit the Swiftproxy website to get your proxy IPs.
* [**API Acquisition**](/proxies/residential-proxies/get-proxy/api-acquisition.md)
* [**Username and Password Authentication**](/proxies/residential-proxies/get-proxy/user-and-password-verification.md)
### **Step 2: Configure Swiftproxy in XLogin**
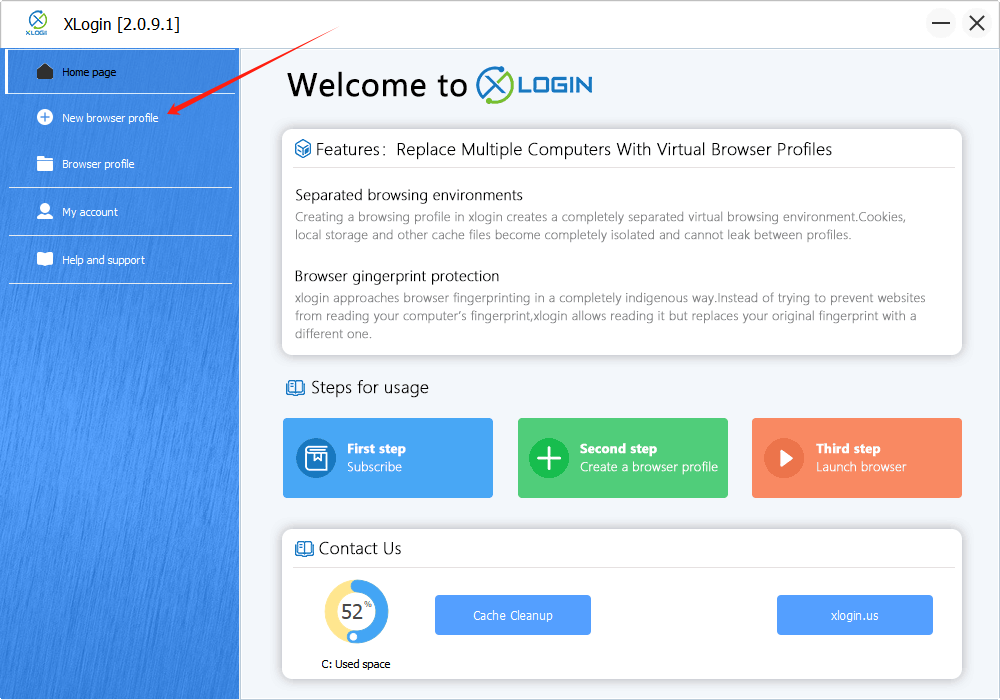
1. Once logged in, select "New Browser Profile" from the sidebar:
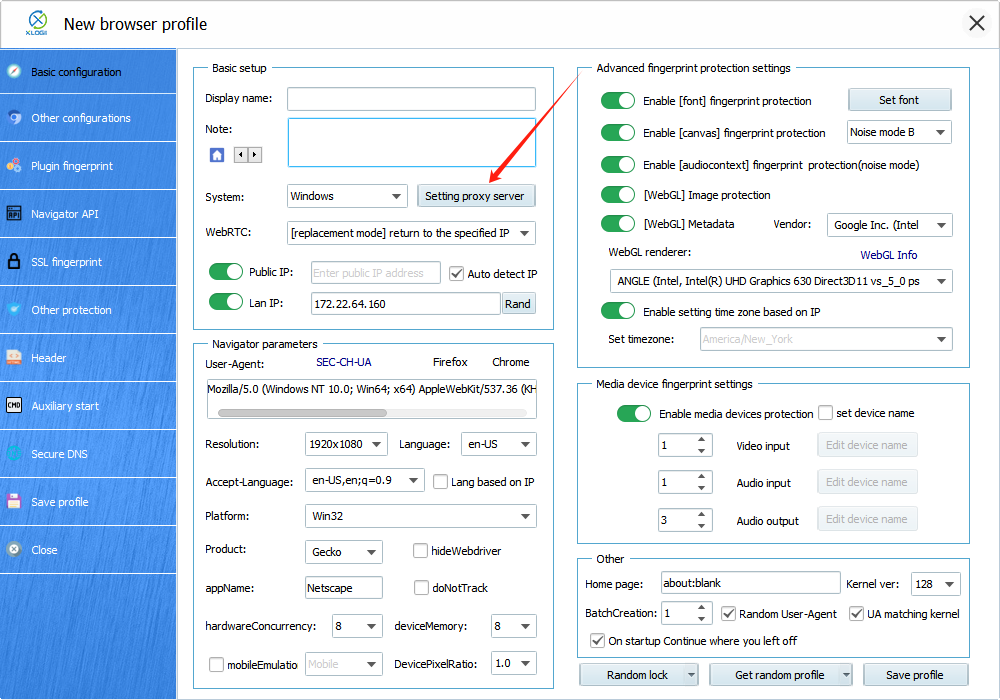
2. A new window will pop up afterwards, tap "Setting proxy server" button.
3. To configure your proxies, choose "Basic Configuration", click "Setting proxy server", and make sure "Enable proxy server" is on. Copy your proxy information from the Swiftproxy dashboard to XLogin, and click "Save" to complete the configuration. Tap "Save profile" in the end.\
**Note:** You can find the required proxy details in **Step 1.**
4. Here, we see the connection is valid.
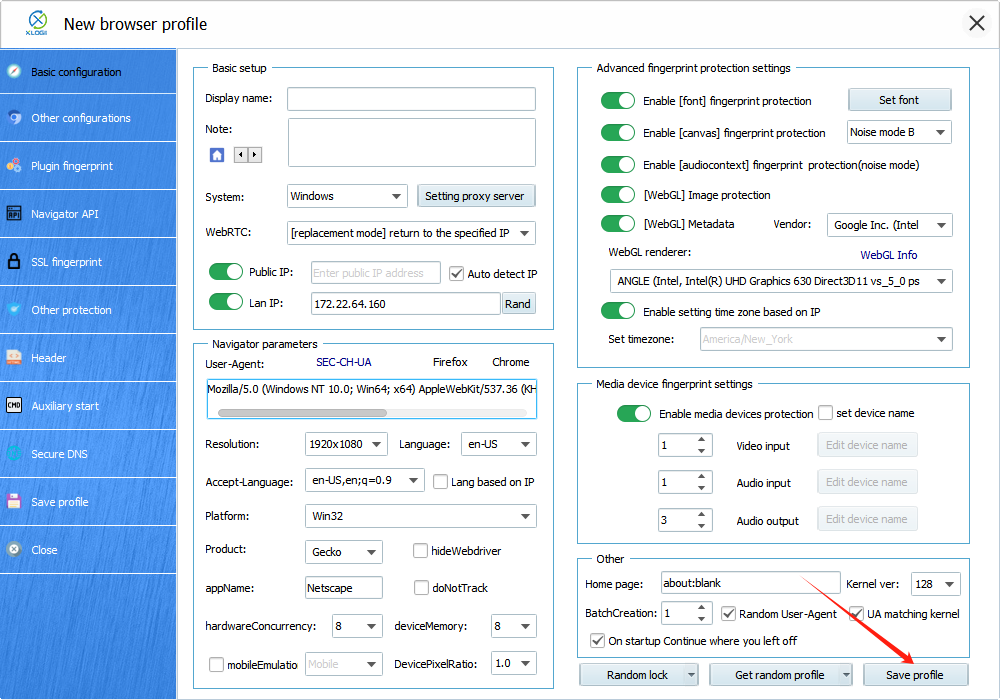
5. After setting up the proxy, we may now tap "Save profile" to finish setting up the proxy in XLogin Anti-detect Browser.
---
# Agent Instructions
This documentation is published with GitBook. GitBook is the documentation platform designed so that both humans and AI agents can read, navigate, and reason over technical content effectively. Learn more at gitbook.com.
## Querying This Documentation
If you need additional information that is not directly available in this page, you can query the documentation dynamically by asking a question.
Perform an HTTP GET request on the current page URL with the `ask` query parameter:
```
GET https://docs.swiftproxy.net/proxies/integration-and-usage/residential-proxies-integration/xlogin.md?ask=
```
The question should be specific, self-contained, and written in natural language.
The response will contain a direct answer to the question and relevant excerpts and sources from the documentation.
Use this mechanism when the answer is not explicitly present in the current page, you need clarification or additional context, or you want to retrieve related documentation sections.
 2. A new window will pop up afterwards, tap "Setting proxy server" button.
 3. To configure your proxies, choose "Basic Configuration", click "Setting proxy server", and make sure "Enable proxy server" is on. Copy your proxy information from the Swiftproxy dashboard to XLogin, and click "Save" to complete the configuration. Tap "Save profile" in the end.\
**Note:** You can find the required proxy details in **Step 1.**
3. To configure your proxies, choose "Basic Configuration", click "Setting proxy server", and make sure "Enable proxy server" is on. Copy your proxy information from the Swiftproxy dashboard to XLogin, and click "Save" to complete the configuration. Tap "Save profile" in the end.\
**Note:** You can find the required proxy details in **Step 1.**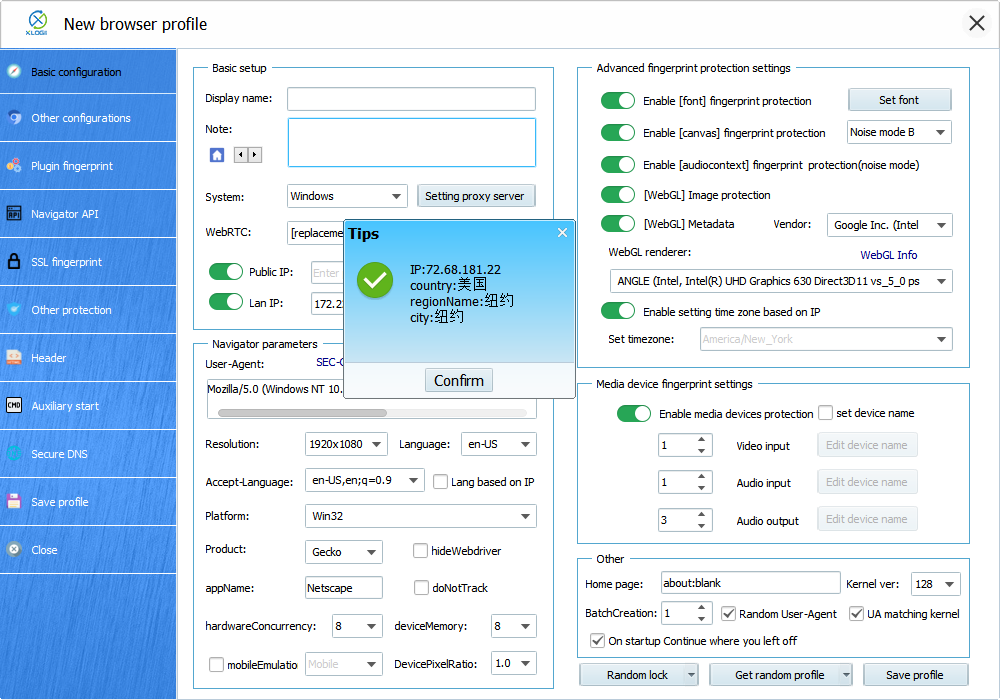 5. After setting up the proxy, we may now tap "Save profile" to finish setting up the proxy in XLogin Anti-detect Browser.
 ---
# Agent Instructions
This documentation is published with GitBook. GitBook is the documentation platform designed so that both humans and AI agents can read, navigate, and reason over technical content effectively. Learn more at gitbook.com.
## Querying This Documentation
If you need additional information that is not directly available in this page, you can query the documentation dynamically by asking a question.
Perform an HTTP GET request on the current page URL with the `ask` query parameter:
```
GET https://docs.swiftproxy.net/proxies/integration-and-usage/residential-proxies-integration/xlogin.md?ask=
---
# Agent Instructions
This documentation is published with GitBook. GitBook is the documentation platform designed so that both humans and AI agents can read, navigate, and reason over technical content effectively. Learn more at gitbook.com.
## Querying This Documentation
If you need additional information that is not directly available in this page, you can query the documentation dynamically by asking a question.
Perform an HTTP GET request on the current page URL with the `ask` query parameter:
```
GET https://docs.swiftproxy.net/proxies/integration-and-usage/residential-proxies-integration/xlogin.md?ask=