> For the complete documentation index, see [llms.txt](https://docs.swiftproxy.net/llms.txt). Markdown versions of documentation pages are available by appending `.md` to page URLs; this page is available as [Markdown](https://docs.swiftproxy.net/proxies/integration-and-usage/residential-proxies-integration/genlogin.md).
# Genlogin
## **What is Genlogin?**
[Genlogin](https://genlogin.com/) streamlines your digital tasks by automating browser actions without the need for coding, boosting productivity with multi-threading for simultaneous task execution. It offers seamless team collaboration through easy role and access management, ensuring efficient coordination. Additionally, Genlogin provides opportunities to earn money via its Affiliate Program and GenStore, with a transparent dashboard for effortless monetization. Whether you're looking to automate, collaborate, or profit, Genlogin is the all-in-one solution for optimizing your workflows.
## **How to configure Genlogin with Swiftproxy Residential Proxy?**
### ▶️ **Video Tutorial**
{% embed url="" %}
### **Step 1: Get Proxy Information and Download**
1. Download Genlogin from the [official website](https://genlogin.com/).
2. Visit the Swiftproxy website to get your proxy IPs.
* [**API Acquisition**](/proxies/residential-proxies/get-proxy/api-acquisition.md)
* [**Username and Password Authentication**](/proxies/residential-proxies/get-proxy/user-and-password-verification.md)
### **Step 2: Configure Swiftproxy in Genlogin**
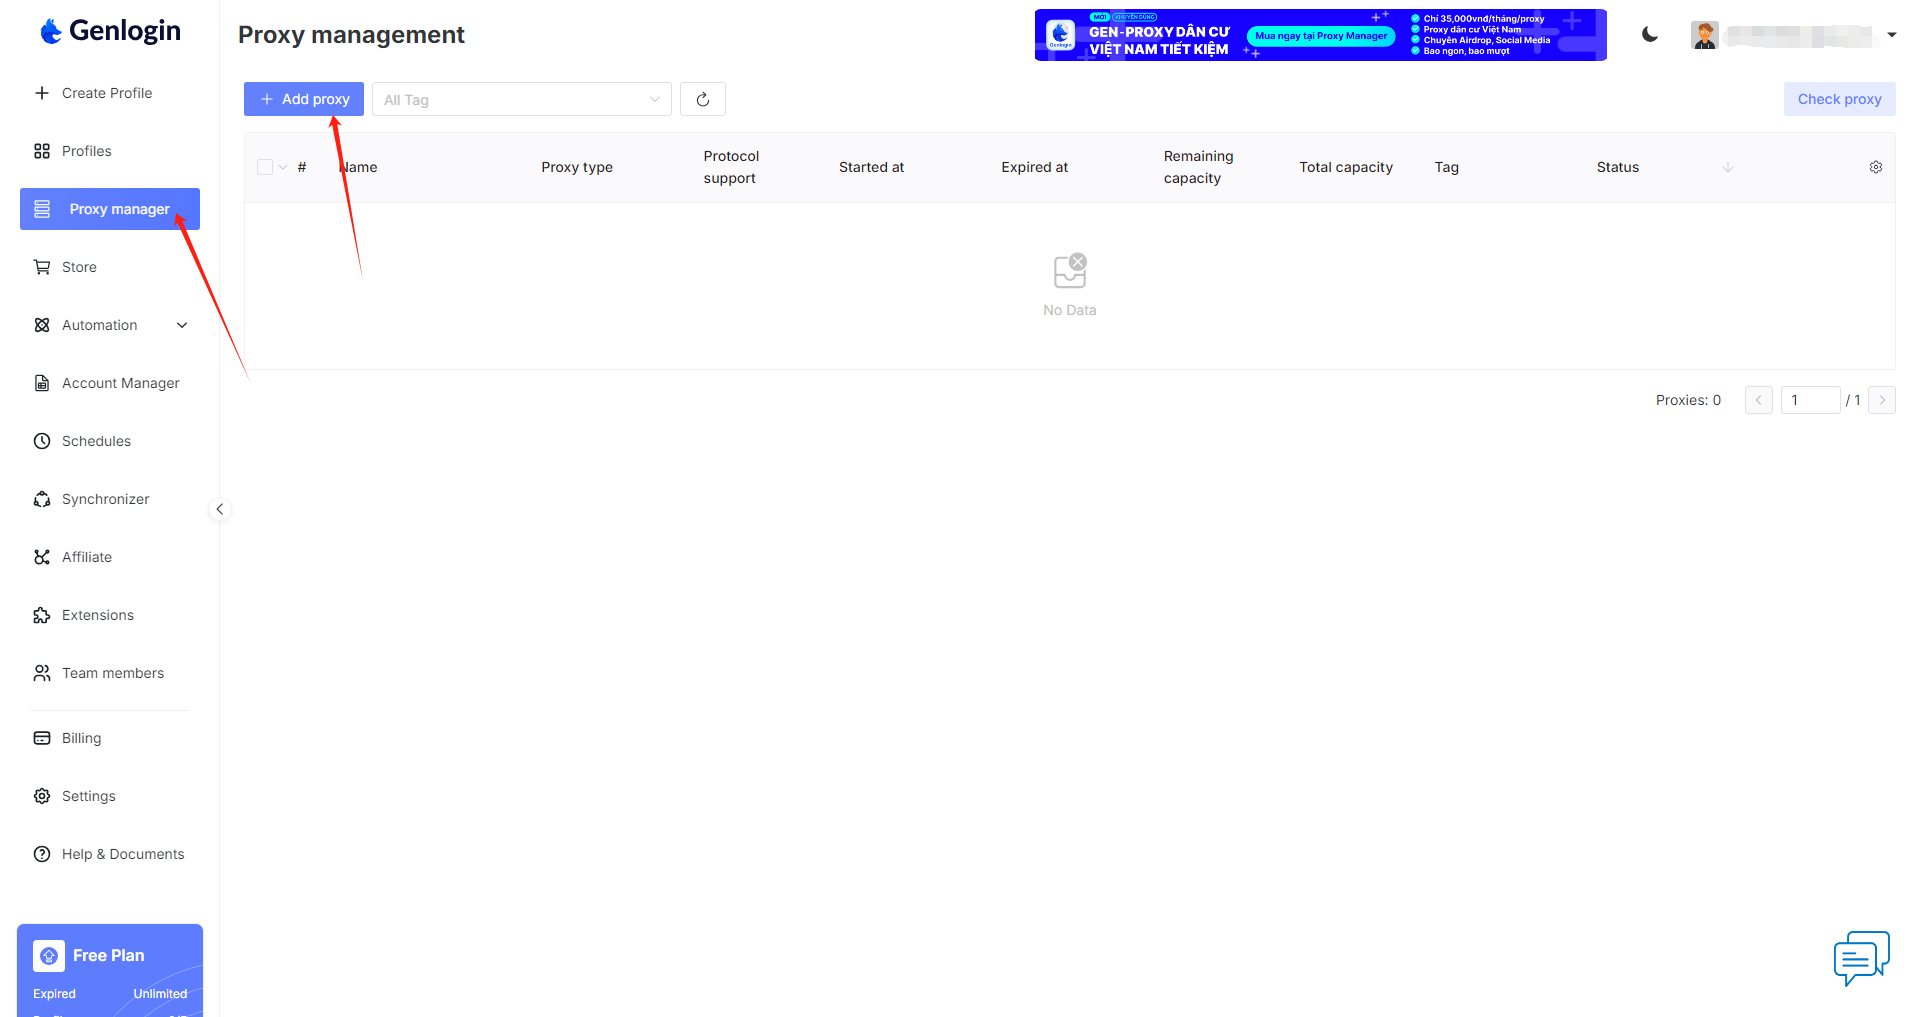
1. Once logged in, tap "Add Profile" at the sidebar:
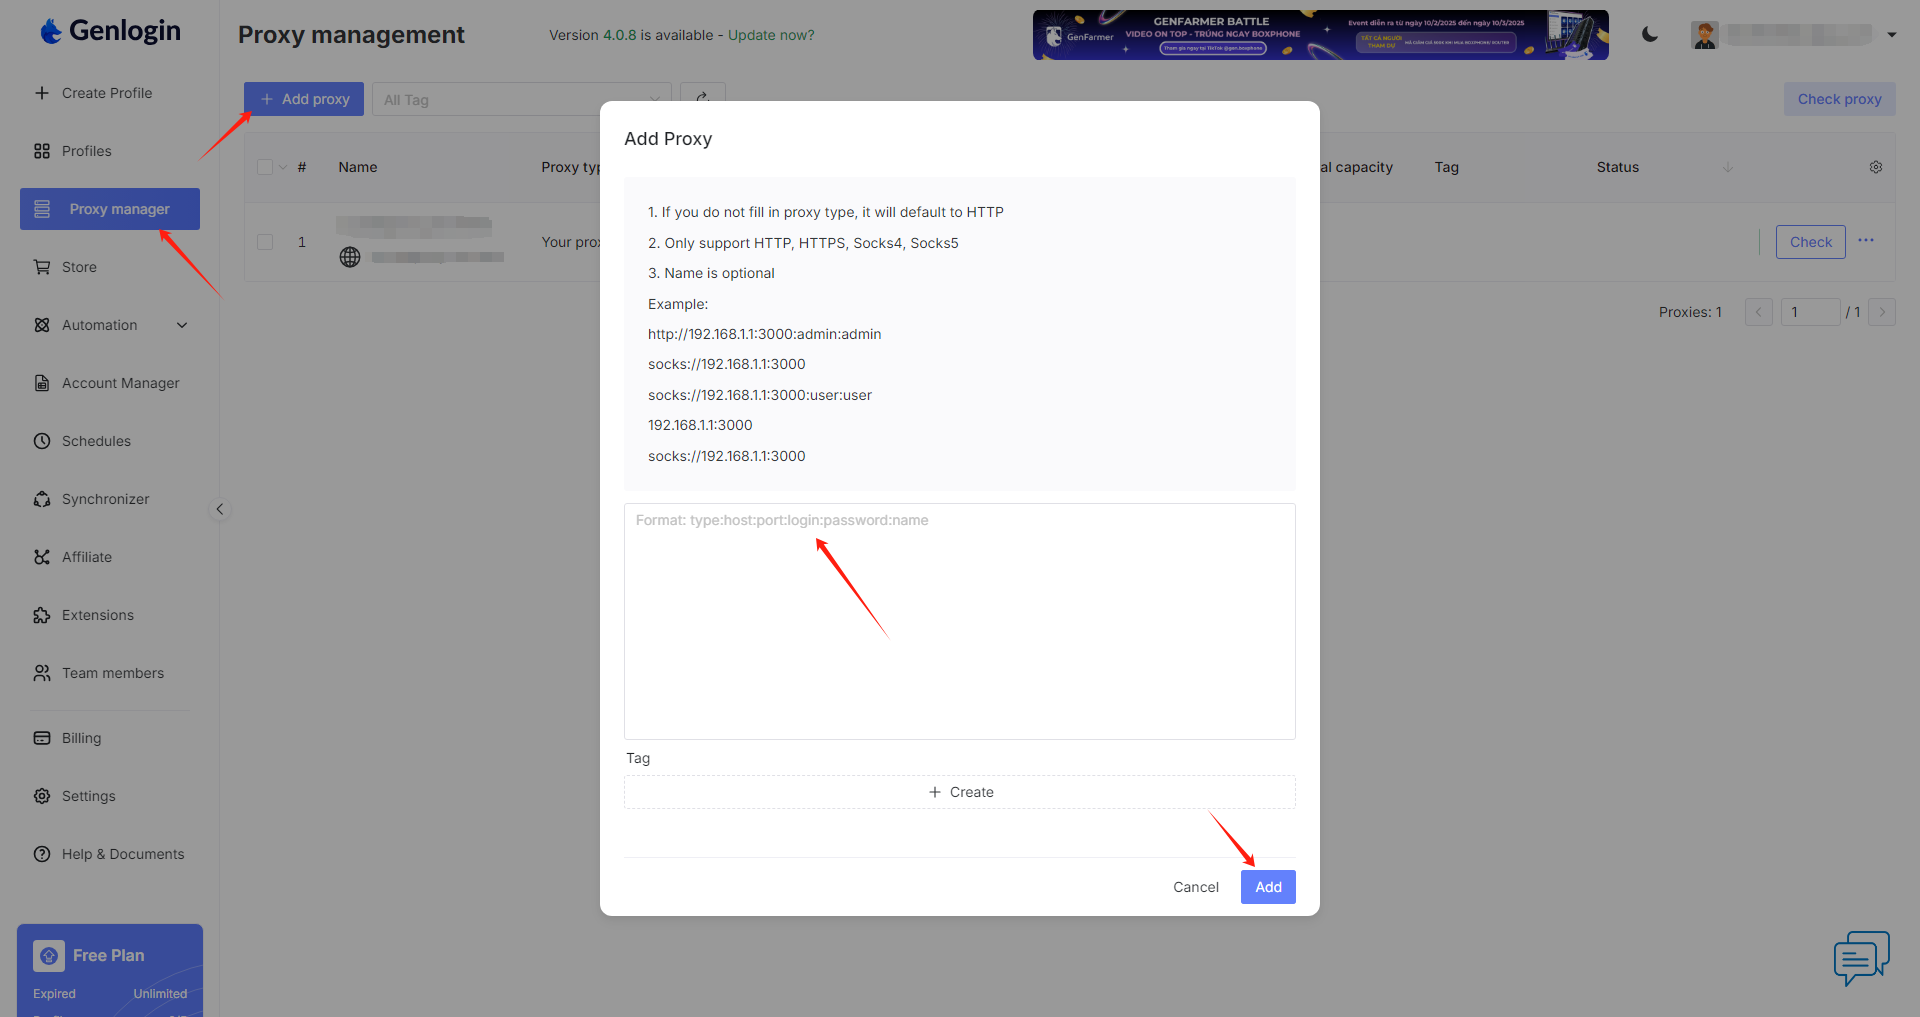
2. To configure your proxies, copy your proxy information from the Swiftproxy dashboard to Genlogin, then click "add" at the end.
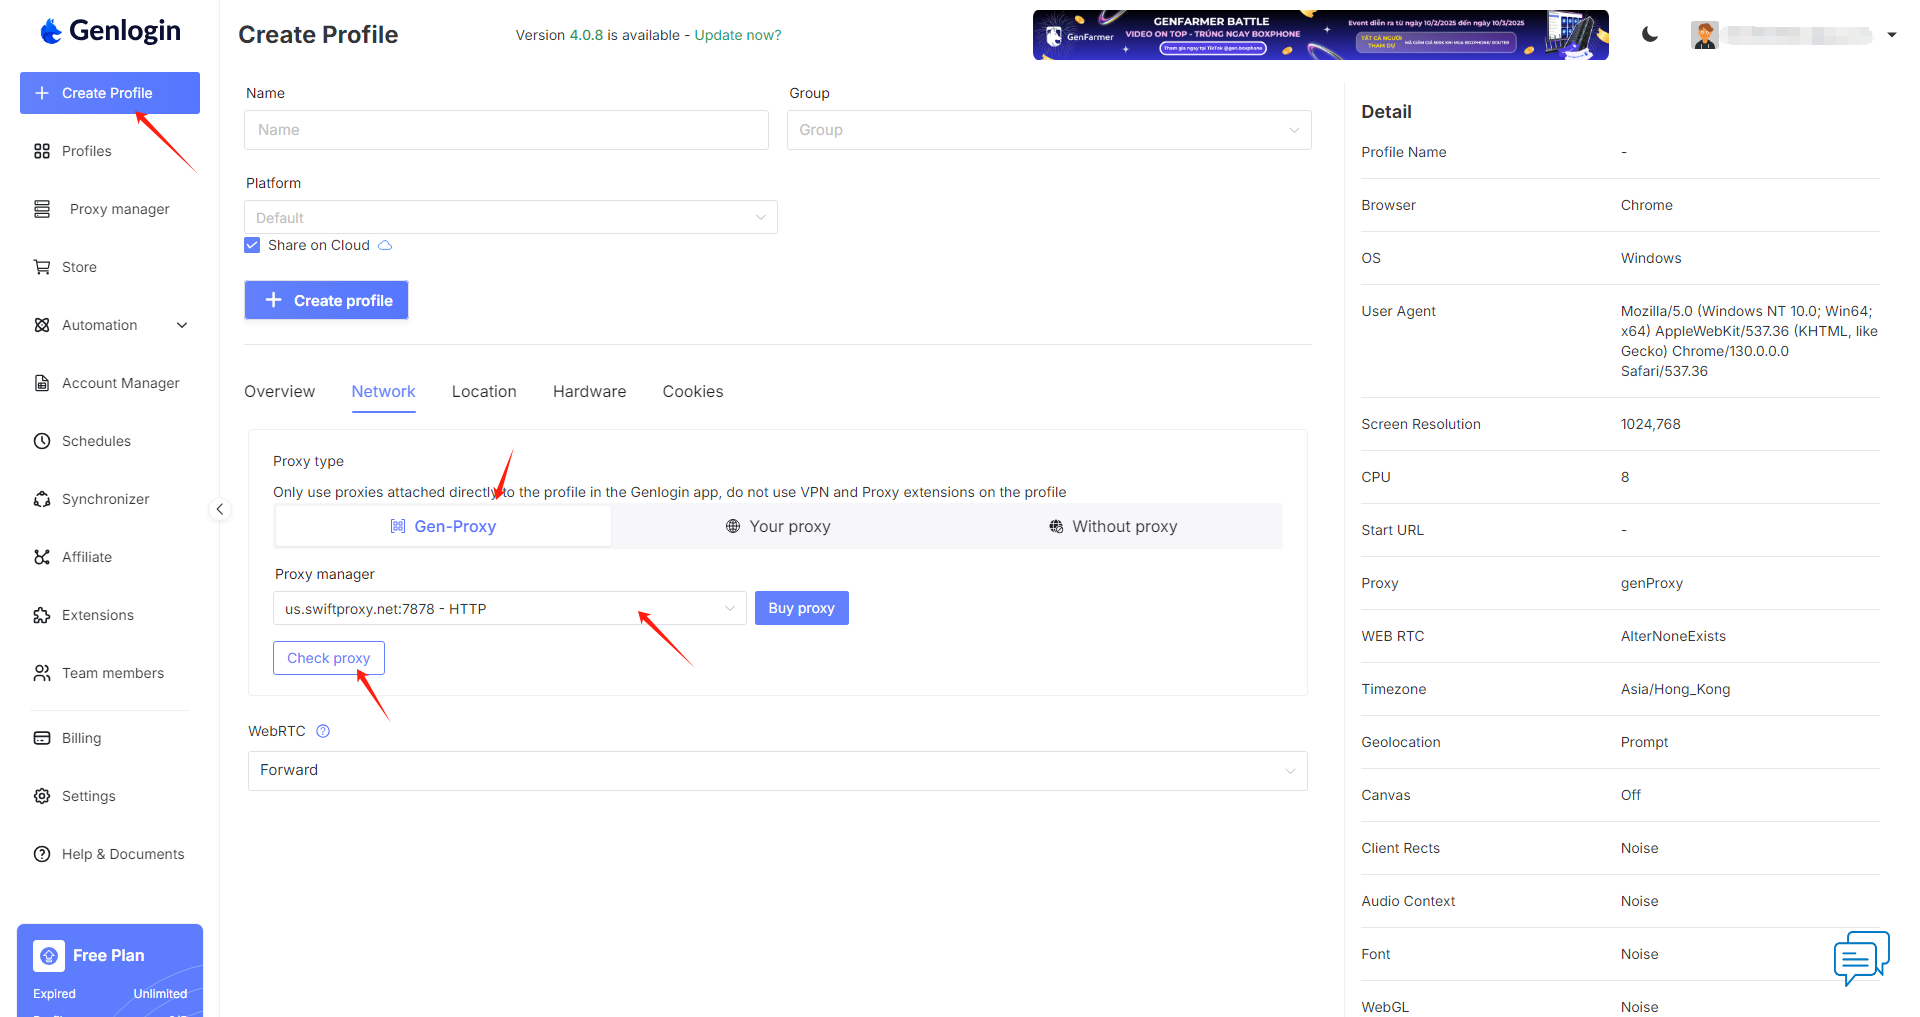
3. Click "Create Profile" and choose "Gen-Proxy", in the proxy manager section select the proxy we set up earlier, and click "check" will allow you to quickly check the functionality of the proxy. If the proxy is valid, click "Create profile" at the end. Remember to give this new profile a name to make it easier to find.\
**Note**: You can find the required proxy details in **Step 1**.
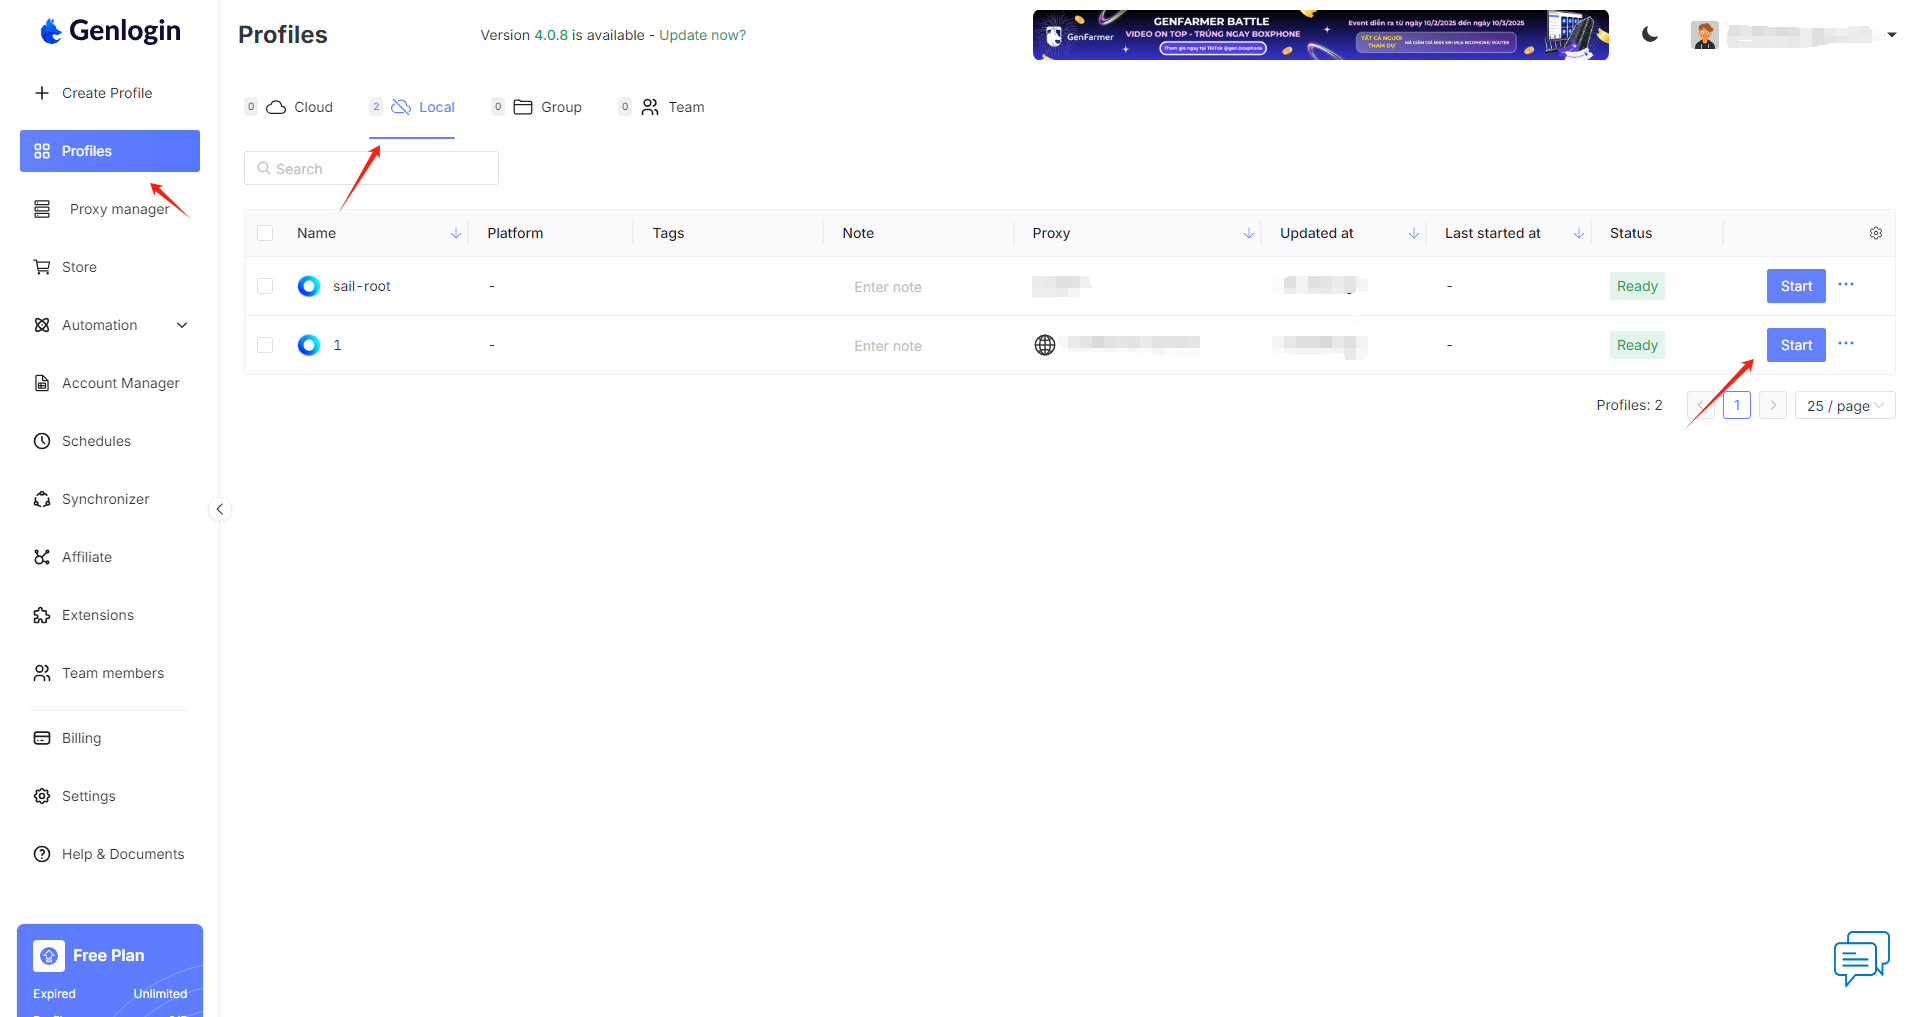
4. Click "Profile" and select "Local", tap "Start" to open the browser window:
---
# Agent Instructions
This documentation is published with GitBook. GitBook is the documentation platform designed so that both humans and AI agents can read, navigate, and reason over technical content effectively. Learn more at gitbook.com.
## Querying This Documentation
If you need additional information that is not directly available in this page, you can query the documentation dynamically by asking a question.
Perform an HTTP GET request on the current page URL with the `ask` query parameter:
```
GET https://docs.swiftproxy.net/proxies/integration-and-usage/residential-proxies-integration/genlogin.md?ask=
```
The question should be specific, self-contained, and written in natural language.
The response will contain a direct answer to the question and relevant excerpts and sources from the documentation.
Use this mechanism when the answer is not explicitly present in the current page, you need clarification or additional context, or you want to retrieve related documentation sections.
 2. To configure your proxies, copy your proxy information from the Swiftproxy dashboard to Genlogin, then click "add" at the end.